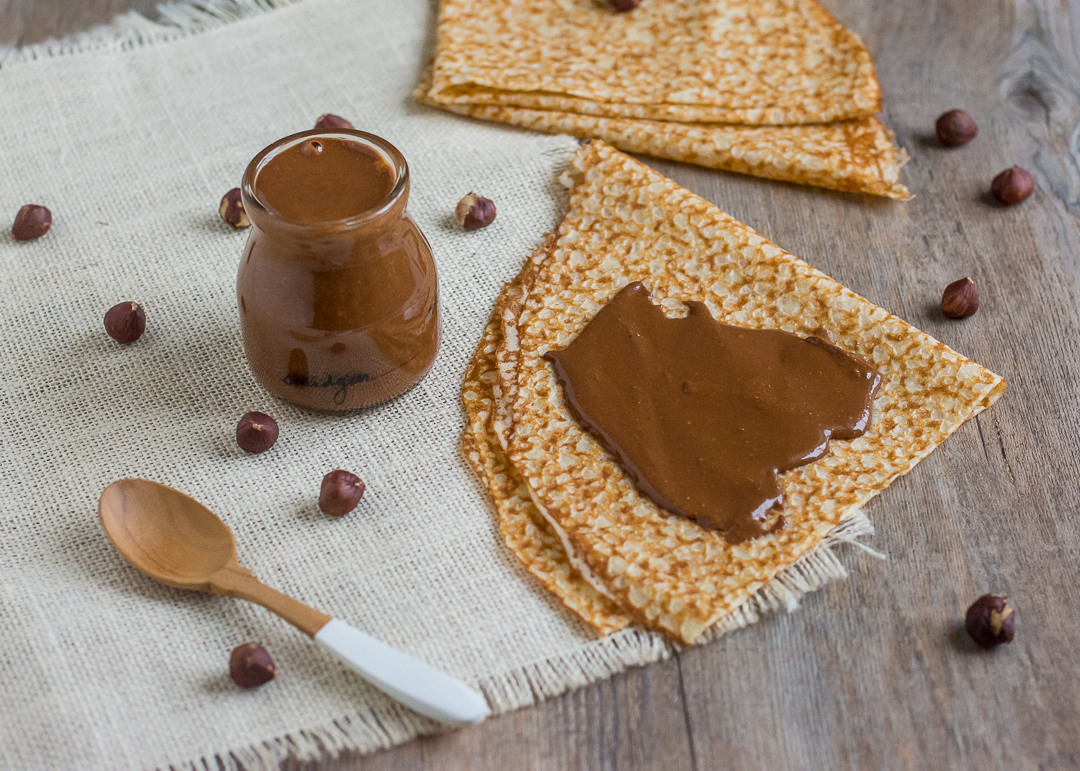
I consider myself part of the global Nutella obsession, to the point where I hardly ever keep a jar at home because I truthfully couldn’t be trusted NOT to finish it in a day or two. I like it a little too much so it became this vacation treat or occasional restaurant fix, although it doesn’t have to be this way! After coming across a few recipes for homemade Nutella, I realized making the ‘healthier’ version could be a good compromise, even though I never thought it could live up to the store bought one. Boy was I wrong!
The intense hazelnut and chocolate flavor will beat hands down any and every jar of spreadable nut and chocolate butter you’ve had before with their somewhat plasticky taste, and what’s more you won’t be ingesting all those additives they contain. It’s one of the easiest recipe you can find and will totally change your mind about that incredible spread you’ve dreamt about since your earliest days. I haven’t been able to put my spoon down since I made that batch, and yes it’s already almost all gone.
Now that I know I only need a few quality ingredients and 25 minutes, I’ll definitely be whipping up batches of homemade Nutella more often, and you should too.
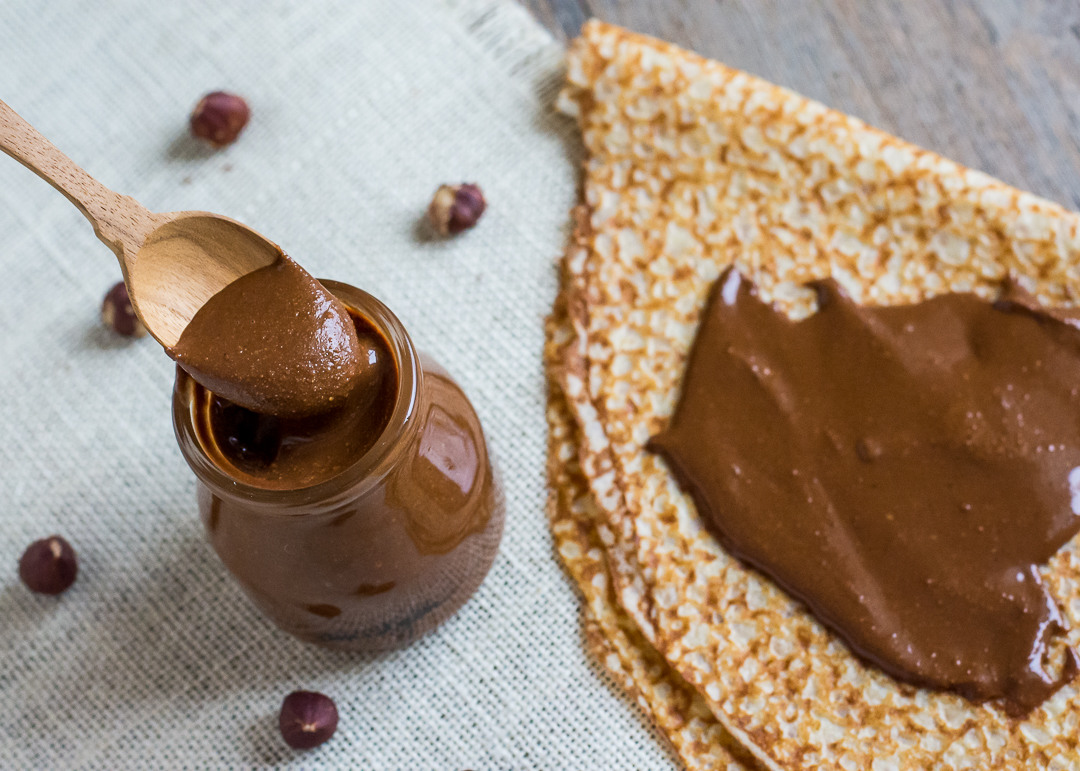
What’s also great is that making it at home allows you to customize it to your liking. Like a bit of salty with your sweet? Add some nice flaky Maldon sea salt or fancy fleur de sel for a tiny bit of crunch. Want it slightly runny to dip in fruits, cakes or drizzle over ice cream (or pretty much everything)? Add more hazelnut oil, a tablespoon at a time, until you get the consistency you want.
Since it’s all natural, storing it in the fridge is a must and you’ll see that it also thickens the spread.
Whether you spread it on toast, graham crackers, pancakes, or tucked inside a crepe like I did, you’ll thank me for having given you this slightly guiltless version of your favorite guilty food…you’re welcome!
[yumprint-recipe id=’2′]


Yum. It will not take too long before I make this… Thanks, Sandra!/ Anna
I think it should be an integral part of Linnea’s diet… 🙂
She will love it 🙂